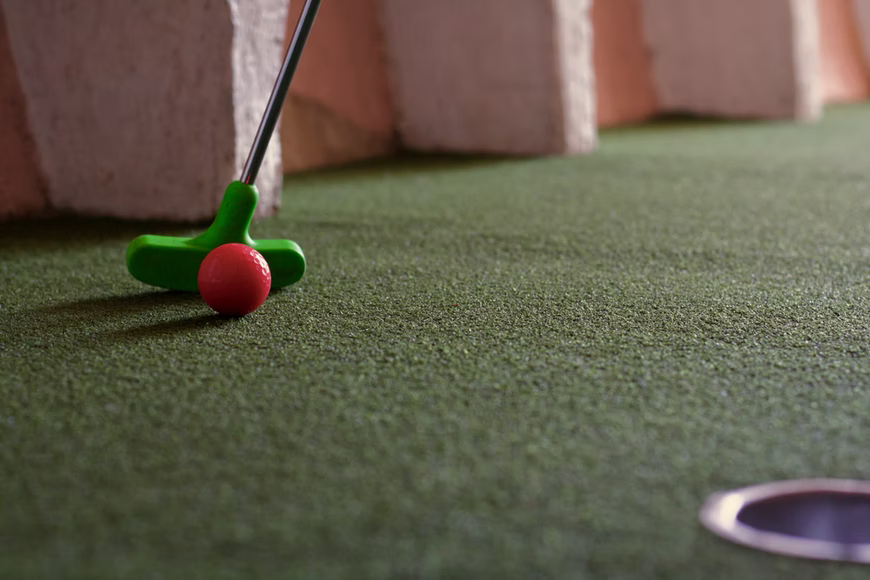
Mini golf or “golf in the dark” as many like to call it is a fun and competitive sport. While there are many places you can go and play, most people do not have access to that type of facility. Therefore it would be great if they had their course. It is quite easy to find the supplies and even fairly easy to construct them. You just have to follow certain steps and have a certain amount of patience.
Below is a list of six simple steps that you can follow to create your very own indoor miniature golf course.
Find The Best Location
You are going to want to find a room in your house that is big enough to accommodate the course you are planning on making. It should be relatively empty and it cannot have any furniture in it. If there are things, remove them before building the indoor mini-golf course. The most important thing is that the area is flat and free of obstacles and debris.
Purchase The Supplies
Now that you have an indoor space, get all of the materials that need to construct the course. Firstly, you should get the indoor putting green that is about 40 feet long and 3 inches wide for each hole. Then purchase at least two different putters—one short putter and one longer one—so that players can hit their ball in different ways. Next, purchase some nails and pencils to design the course. Also, get enough golf balls in different colors so that each player has a ball in their color. Lastly, you need to purchase at least 20 flags that have a different point total. This is critical because the flags indicate the par rating of the hole and therefore how many shots it will take to get in. The more difficult the hole, the harder it is to get in.
Design The Layout Of The Holes
Now it’s time to design the course. Doing this is very easy and should only take about 15 minutes per hole. All you need to do is draw a circle with a circumference of 8-12 inches (the smaller the number, the easier the course will be). Then make another small circle within it—about 2 ½ inches from its center—and color it in with whatever color you would like your hole to be (try to make all of them differently colored and distinguishable from each other).
Next, draw two lines coming off of it: one going straight towards the left side of the course and one going straight towards the back right. Lastly, make a third line coming off of it that bisects the other two lines at an angle (45-60 degrees).
Equip Each Hole With Playing Aids
Now it’s time to take care of your golf ball collection. Make sure every player has access to their colored balls and then put them into ziplock bags to keep them clean and dry. Label all of the ziplock bags by printing out labels on sticker paper or buying pre-made ones, writing down the color name and number 1-18 on it so players know which holes they are assigned to. Then attach them to each bag with a paper clip or some other piece of metal so it is easily accessible from the side of the course.
Set Up Boards Around The Holes
Now that you have your various colored golf ball ziplock bags, it’s time to set the course up to keep balls from rolling off. You will want to place the putting green in the middle of where you plan on having your course. Then place boards around the perimeter of the putting green that is tall enough to block miniature golf balls from rolling onto the floor or other areas. If you have an area where your workbench/table is, then make sure no balls are rolling in between them when you test out your course.
Secure The Putting Greens With Carpet Tape
The last step is securing your course’s flooring. The best way to do this would be using a strong double-sided carpet tape to stick your indoor putting green from one end of the room to another. Draw a line around where you want the putting green to be on every side of the room, cut each strip into three equal parts, then attach them firmly together by sticking their rough sides together with one after another. After this, simply press down along all three edges of your putting green until they are securely fastened to the ground!
Now all you have got left is to start playing and have some fun!
This 6-step guide should help you get started if you want to build an indoor minigolf course in your home for your friends and family to enjoy year-round! Since putting is one of the most important skills in miniature golf, practicing on this course can help you become a better player when it comes time for outdoor mini-golfing in the springtime!
